Note: Real cassette support is currently NOT implemented in the Mac OSX version!
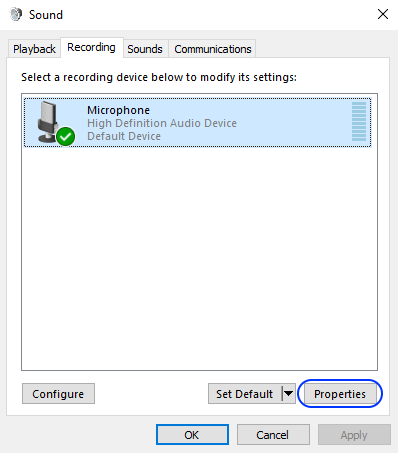
To use the Real Cassette Support first make sure a tape player is connected to the audio in (line in or microphone) of the PC. Also check that the connection used is set as the default 'Recording' device in the windows 'Sound' control panel:
select the 'Disable / Enable real cassette loading' button (yellow ellipse):

This should result in a green 'v' being shown on the button:

The green 'v' indicates real cassette loading is enabled, a red 'minus' indicates real cassette loading is disabled and wave file loading will be used instead. When real cassette loading is active the Turbo and Auto load/save features are disabled and deactivated. Wave file saving will still be possible however wave file loading will not be possible until real cassette loading is switched off.
After starting the emulated computer, start the tape recorder and use the applicable load command on the emulated computer.
The input volume can be seen on the green and red 'vu meter':

Note that the best results will be achieved if the vu meter does NOT go into red. If it does (like shown above), lower the cassette player volume. Alternatively lower the audio input level via recording device properties (blue ellipse above) in the windows sound control panel.
If loading does not work or gives tape errors, try changing one of the settings as described below in the Real Cassette Settings chapter.
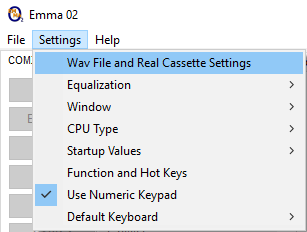
To change the Real Cassette settings used for loading a real cassette program open the 'Wav File and Real Cassette Settings' via the menu below:
The following subchapters describe applicable settings in more detail:

This selects the left or right cassette player sound channel. Default this is set to the left channel, note that only the left channel has been successfully tested with a real cassette player. Only change this setting if the 'vu meter' does not work when playing a tape.
Two conversion types can be used:
1. Amplitude: where the signal is converted to a 1 on positive amplitude and a 0 on a negative amplitude.
2. Sinus: where the signal is converted to a 1 on an upward sinus and a 0 on a downward sinus
Default this is set to 'Sinus' which proved to work with a real COMX tape. Depending on the emulated computer this might need to be changed if loading does not work or gives tape errors.
Switch converted signal polarity (1->0 and 0->1) as described for conversion types above.